I first "offer up" the canvas to see I have the longest side running along the longest side of the wooden paint frame. I then tack one corner.
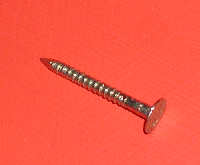
| For all this stretching work I use one inch long, plasterboard, large
headed, sheradised nails. The zinc coating stops them rusting. These
nails have small rings (teeth) around the shank which help them stay
in firmly. When used to stretch canvas I never hammer these nails fully home but leave at least half protruding as they will be taken out once the canvas has been prepared. |
 |
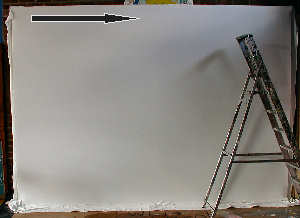
In this case I chose to tack the top left corner (It's up to you which corner you start).
Pulling very hard (Arrow) from this fixed point I then tacked about every two feet along the top. Don't drive the nails in too far as these are temporary and you will probably be pulling them out in a minute!
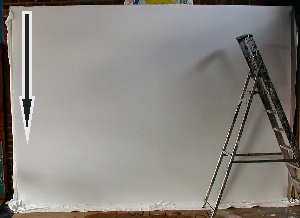
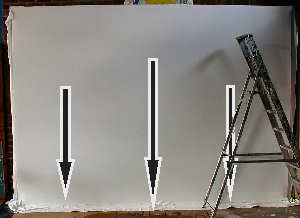
Turing my attention to the bottom I then tacked the middle (Pulling directly down from the top. I then tacked either side along the bottom.
Psst How did I get that arrow behind the steps? Aint PaintShopPro marvelous?
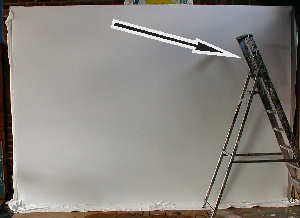
Finally, by pulling from the top corners I completed temporarily tacking both sides to the bottom.
Now I returned to the top left corner and started to nail along the top about every six inches. Pulling upwards and along as hard as I could as I worked. Now you will discover that some of your original tacking will leave loose canvas so remove these temporary nails and continue your six inch nailing.
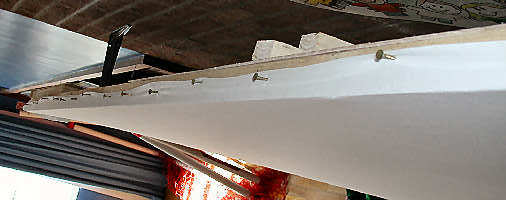 |
Here is a photo taken looking along the top of the frame. Note, if convenient, I do not nail on the front of the frame but bend the canvas over and nail along the edge. The canvas surrounding the nails will be uselessly creased once the sealing has dried so will have to be cut off and not used. Note how the nails protrude so they can easily be removed later with a claw hammer. Footnote. Although I did have to nail along the front face of the frame along the bottom in this case. |
Or << Return to list of stage sets